
Introduction
Custom sunshades aren’t mass-produced—they’re engineered for precision. Whether for a luxury resort or a private patio, each piece undergoes a meticulous 8-step production process.
Here’s how we transform raw materials into durable, tailor-made shade solutions:
Step 1: Client Consultation & Design Brief
Goal: Understand the project’s aesthetic, functional, and environmental needs.
- Site measurements (dimensions, sun angles, wind exposure)
- Material selection (UPF-rated fabric, frame type, color matching)
- Special features (ventilation, lighting, branding)

Key Questions We Ask:
✔ What’s the primary purpose? (UV protection, rain cover, aesthetic appeal)
✔ What’s the local climate? (Coastal salt resistance? Desert UV intensity?)
Step 2: CAD Modeling & Structural Simulation
Goal: Test durability before production begins.
- 3D modeling (exact shape, tilt, and load distribution)
- Wind/stress simulations (Finite Element Analysis for weak points)
- Prototype adjustments (e.g., reinforcing joints for high-wind zones)

Why This Matters:
A design flaw spotted here saves weeks of rework post-production.
Step 3: Material Sourcing & Fabric Treatment
Goal: Select weatherproof, UV-stable materials.
| Component | Options | Best For |
|---|---|---|
| Fabric | Polyester-PU laminate, Acrylic | High-rain areas |
| Frame | Aluminum, Steel, Fiberglass | Coastal/desert climates |
| Thread | PTFE-coated, UV-resistant | Long-term seam strength |
Critical Treatments:
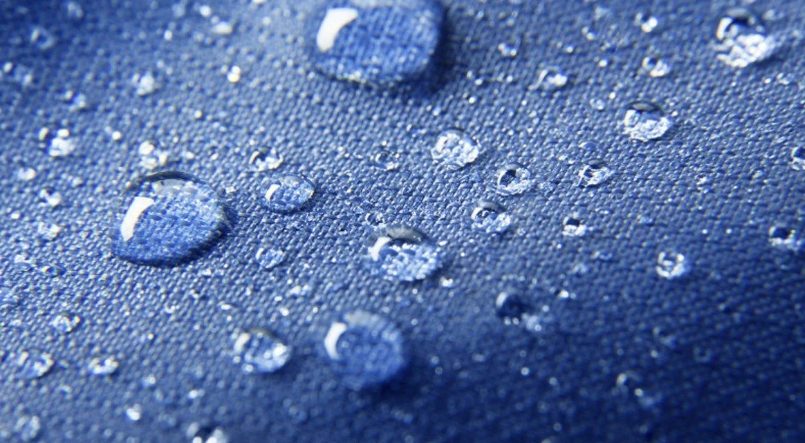
- Waterproofing spray (hydrostatic head ≥1,500mm)
- UV-inhibitor coating (extends colorfastness 5x)
Step 4: Precision Cutting & Sewing
Goal: Minimize material waste, ensure seam consistency.
- Laser-guided cutting (accuracy to 0.5mm)
- Double-stitched seams + heat-sealed edges (prevents fraying)
- Taped seams (for 100% waterproof models)
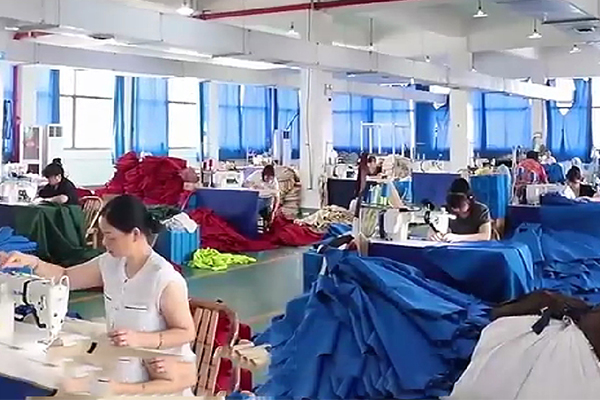
Quality Check:
Every panel is measured against the CAD file before assembly.
Step 5: Frame Fabrication & Assembly
Goal: Build a rust-proof, wobble-free skeleton.
- Tube extrusion (aluminum/steel cut to length)
- Powder-coating (anti-corrosion layer)
- Joint welding (robotic precision for load-bearing points)
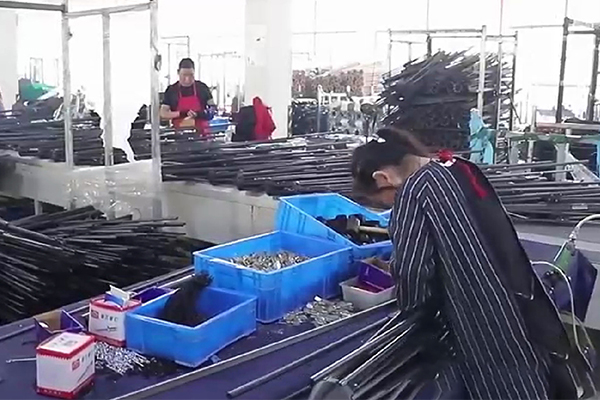
Stress Tests:
- 50kg weight suspension test
- 45° tilt endurance (500+ cycles)
Step 6: Final Assembly & Tensioning
Goal: Marry fabric and frame without wrinkles or slack.
- Hydraulic stretching (ensures even tension)
- Auto-locking joints (no tools needed for adjustments)
- Vent installation (if specified for wind resistance)
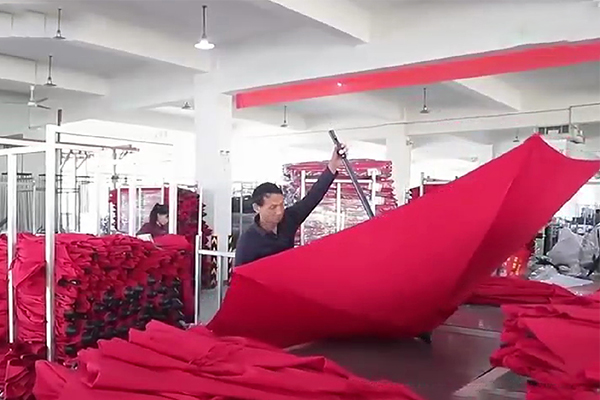
Pro Tip:
Poor tensioning causes premature fabric sagging—we use laser alignment.
Step 7: Quality Control & Weather Testing
Goal: Simulate 5 years of wear in 72 hours.
- UV chamber (accelerated fading test)
- Water spray booth (checks seam leakage)
- Wind tunnel (50mph gust simulation)
Rejection Criteria:
- 3% UPF loss after testing
- Any visible water penetration
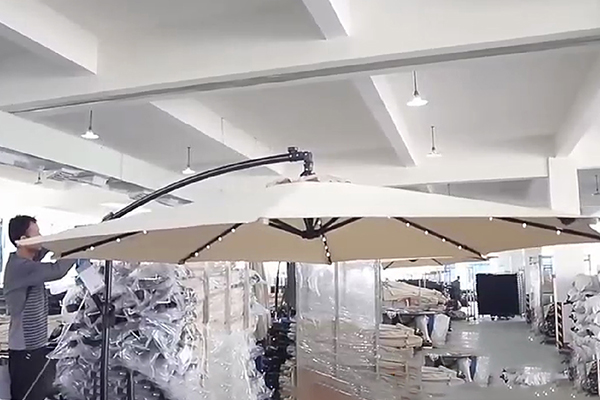
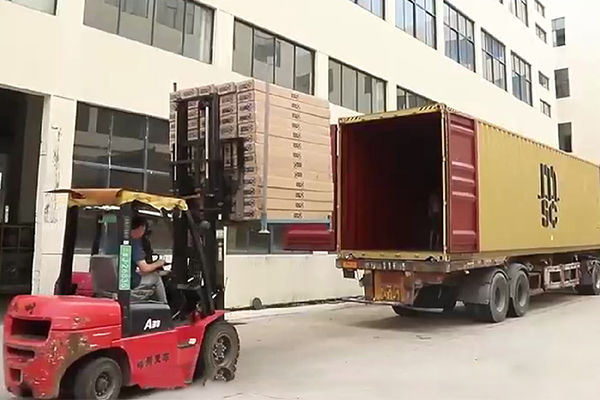
Step 8: Packaging & Logistics
Goal: Protect the product until installation.
- Custom crating (avoid transit dents)
- Installation manuals (with torque specs)
- Spare parts kit (bolts, washers, tensioners)
Conclusion: Why Custom Beats Mass-Produced
A bespoke sunshade lasts 2–3x longer by addressing:
✅ Exact site conditions (wind, sun, rain)
✅ Aesthetic coherence (colors, branding)
✅ Engineering precision (no “one-size-fits-all” compromises)
🔗 Start your custom project: sunnyparasol.com/custom-process